Friday, April 30, 2010

Eldar Guardian: my take on Biel Tan


My Take on the Biel Tan Color Scheme

How To: Magnetize Guardians Weapons Platform


The Magnets I used were 1/4x1/16, that is the larger magnet for the base of the weapons platform, and in each gun I used 2, 1/16x1/32 magnets. You are probably better off using 1/8x1/16 but I didn’t have those so I just used what I had.
Note: Polarity is the MOST IMPORTANT thing to keep track of here, one wrong move and its gonna take A LOT of work to fix it. So make sure you keep track of the Polarity.


First thing you want to do is drill your hole in the top of the weapons platform. You should drill the hole in the area of the female tab end. For the Weapons platforms the platform has a female end that the guns male tab end should fit into, try and get this centered as possible . You will do this before you attack the shield. Then Place the Large magnet into its slot with a little super glue and your set.


Second. Cut the Male tab off of the guns so that it is flush on the bottom.


Third. Drill two small holes for your magnets to fit in. The holes you drill will be the width of the magnets. Or you can just eye ball the magnet to the drill bit.


Fourth. Add a little glue into the holes, not too much glue and Insert magnets, I used the edge of my hobby knife to firmly press down on the magnets to make sure they were flush with the bottom of the gun.


Repeat step 3 and 4 until you have all of your weapons done.


Fifth. Attach the shield to the platform.


Sixth. Try it out! This model is ready to prime and paint!


Hoped this helped!

Thursday, April 29, 2010

Dark Reaper Test

Accidently bought the Levithian Purple Was today (it was in the same slot as the Devlan Mud) So i wanted to try it out, i have a few other reapers so i figured i've give this scheme a test. Comments welcome!


Turn Up the Heat!

Got the Burna's done this week, here's some pics, comments always welcome!


Sunday, April 25, 2010

Game Table Day 2

Ok so the Second day of work on my game table is complete. I was able to mix a bucket of white craft glue with water and spread it over the table and the foam corners. Cover it with playground sand and let it dry. Next i added some Cheap Target brand Kitty Litter to certain parts to make it look more Rocky in certain areas and also border the areas where the sand pooled and built up to make it look like a more natural land scape. I then painted the entire table black. Let it dry for a few hours and was actually able to get the first coat of gray dry brush on a little less than half of the table. after a day or so of drying i was able to take some pictures. while the large black coat dryed i was able to make a few pieces of modular terrain out of some scraps of foam. didnt paint them yet but it will give you an idea of what the table looked like before it was painted.


Thursday, April 22, 2010

Ork Lootas

Ork Lootas are Finished, Used alot of Blue on them because Blue is the "Lucky" color for Orks and Most Lootas wear blue to help them find the good stuff! I'm really happy with how they turned out, and yes the Mek is wearing a Deatwing Terminator Shoulder Pad =)


Game Table Day 1

Ok Guys so i've been collecting the Materials to make a game table, and today i decided to start on it. I'll list the materials i used.

1. 6'x4' piece of 3/4" plywood.
2. 4'x8' piece of 1" thick Poly Stryene, Insulation foam board
3. 1 Gallon of Flat Black Laytex house paint
4. Lots and Lots of Craft (white) Glue
5. Liquid Nail
6. Tooth Picks

So Today i Painted the Piece of Plywood black, Then i Carved out some raised areas, rocky out cropings, to add as permanent fixtures. These are the only 2 pieces of permanent terrain that i want to put on my board, i'll add removeable terrain later but for now i wanted just add 2 pieces I tried to keep it as fair as possible.

I was able to file down areas so you could get onto them without rolling difficult terrain test, on the one side i gave 1" of extra elevation in the corner, on the other side i gave 1" of cover on the one side. One side has the ramp in the middle the other on the end. Again trying to keep it fair, but unique as these are permanent. I sealed them to the plywood with liquid nail and i made sure to apply liquid nail to the edges and flat surfaces that will see alot of action to decrese the wear and tear on the foam, the liquid nail stregnthens it immensely. I used tooth picks to help secure to top layers of foam to the bottom layers of foam, again to make it stronger and more resistant to dammage.

Here are some Pictures of what its looking like so far, next step is to mix up a batch of glue and water and add the sand i just bought to the entire surface.


Thursday, April 15, 2010

Little Bit of Eldar to spice things up


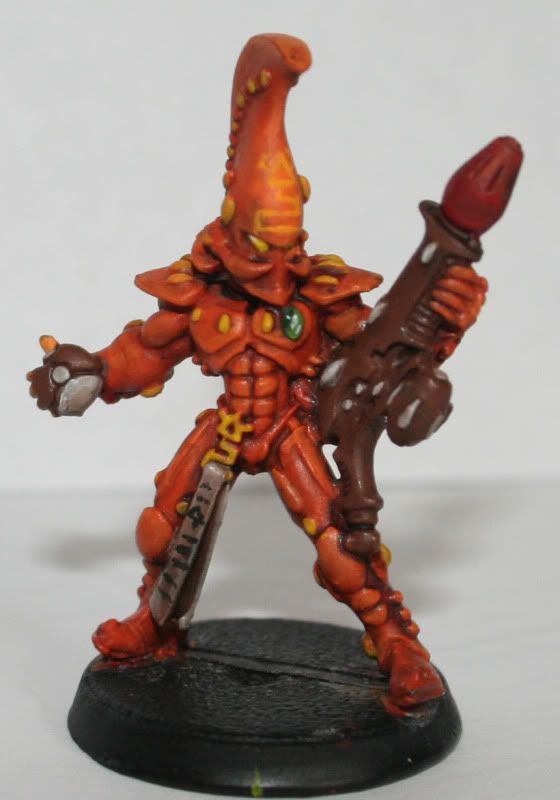
Needed a Change of Pace after painting up that Deff Kopta, so i tried yet another Fire Dragon, Those of you who follow me know that Fire Dragons are my Bane, they are really tough to paint due to the face that i SUCK at painting with reds and oranges, and with so much detail on these models i'm having a really hard time. I also have a habbit of putting paint on too thick, its still a little to thick but MUCH better than the others Enjoy!
Future Golden Demon Winner!

get them started young!

April Motivational Challenge: Fast Attack

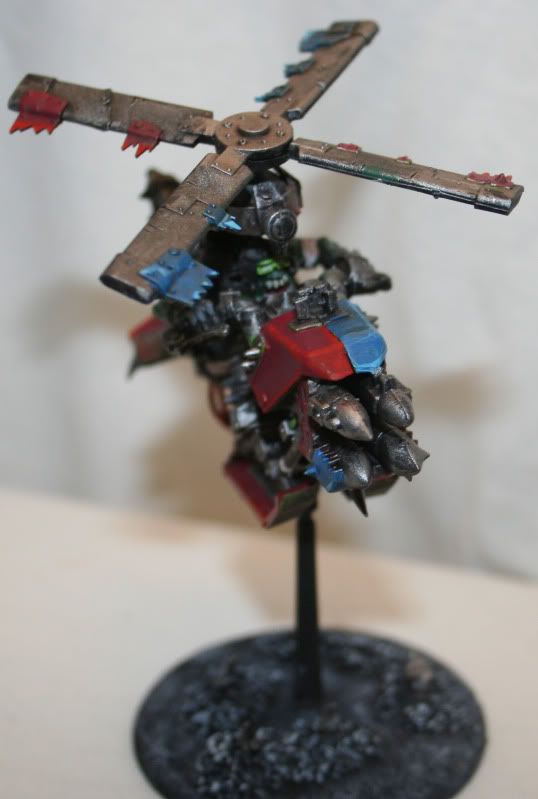
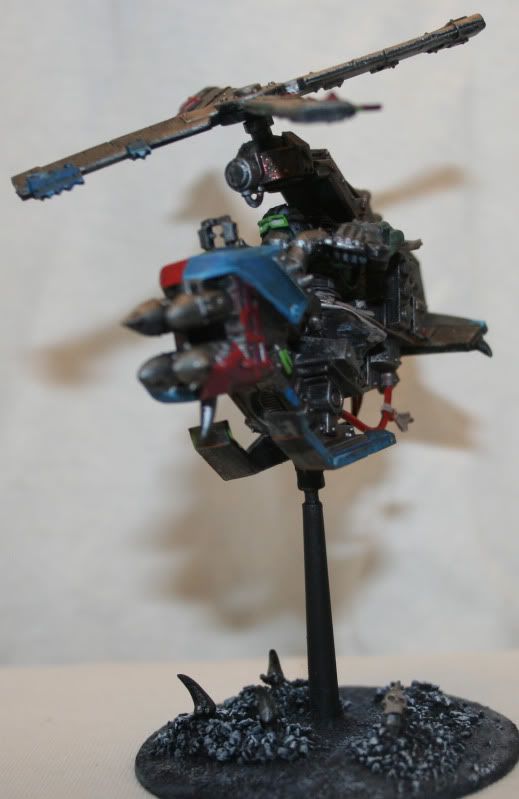
Since I joined late, I only did 1 Deff Kopta...That was also the only fast attack option I had unpainted for either army. Not my best work, and not my best pictures, but it goes with the Blue and Red Theme i have for my Deff Koptas. So with out any more stupid words, here are some Pics....no one really reads these things anyways they just like the pictures.

Sunday, April 11, 2010

Eldar: Striking Scorpions


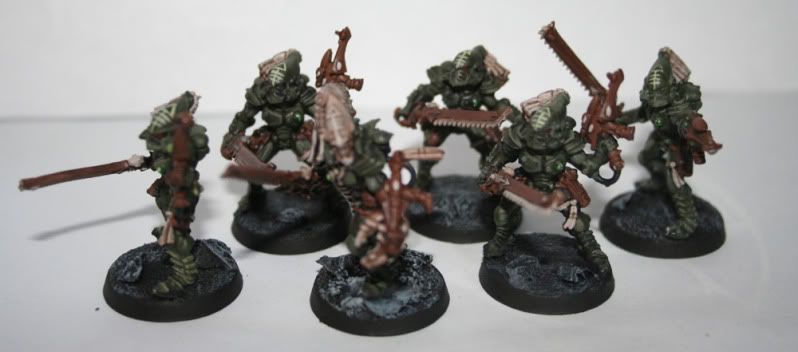
Brand Spankin New Army, gotta love getting a new army, here are my Striking Scorpions I Just finished. I'm going for a real Earthy feel for my eldar army, using alot of earth tones, makes them look a bit older, I just really like the look and feel of the way they are turning out, i'll update ya with more soon.

Ork HQ


More Recent Orks